Mitten Ornaments
This post may contain affiliate links, thank you for your support.

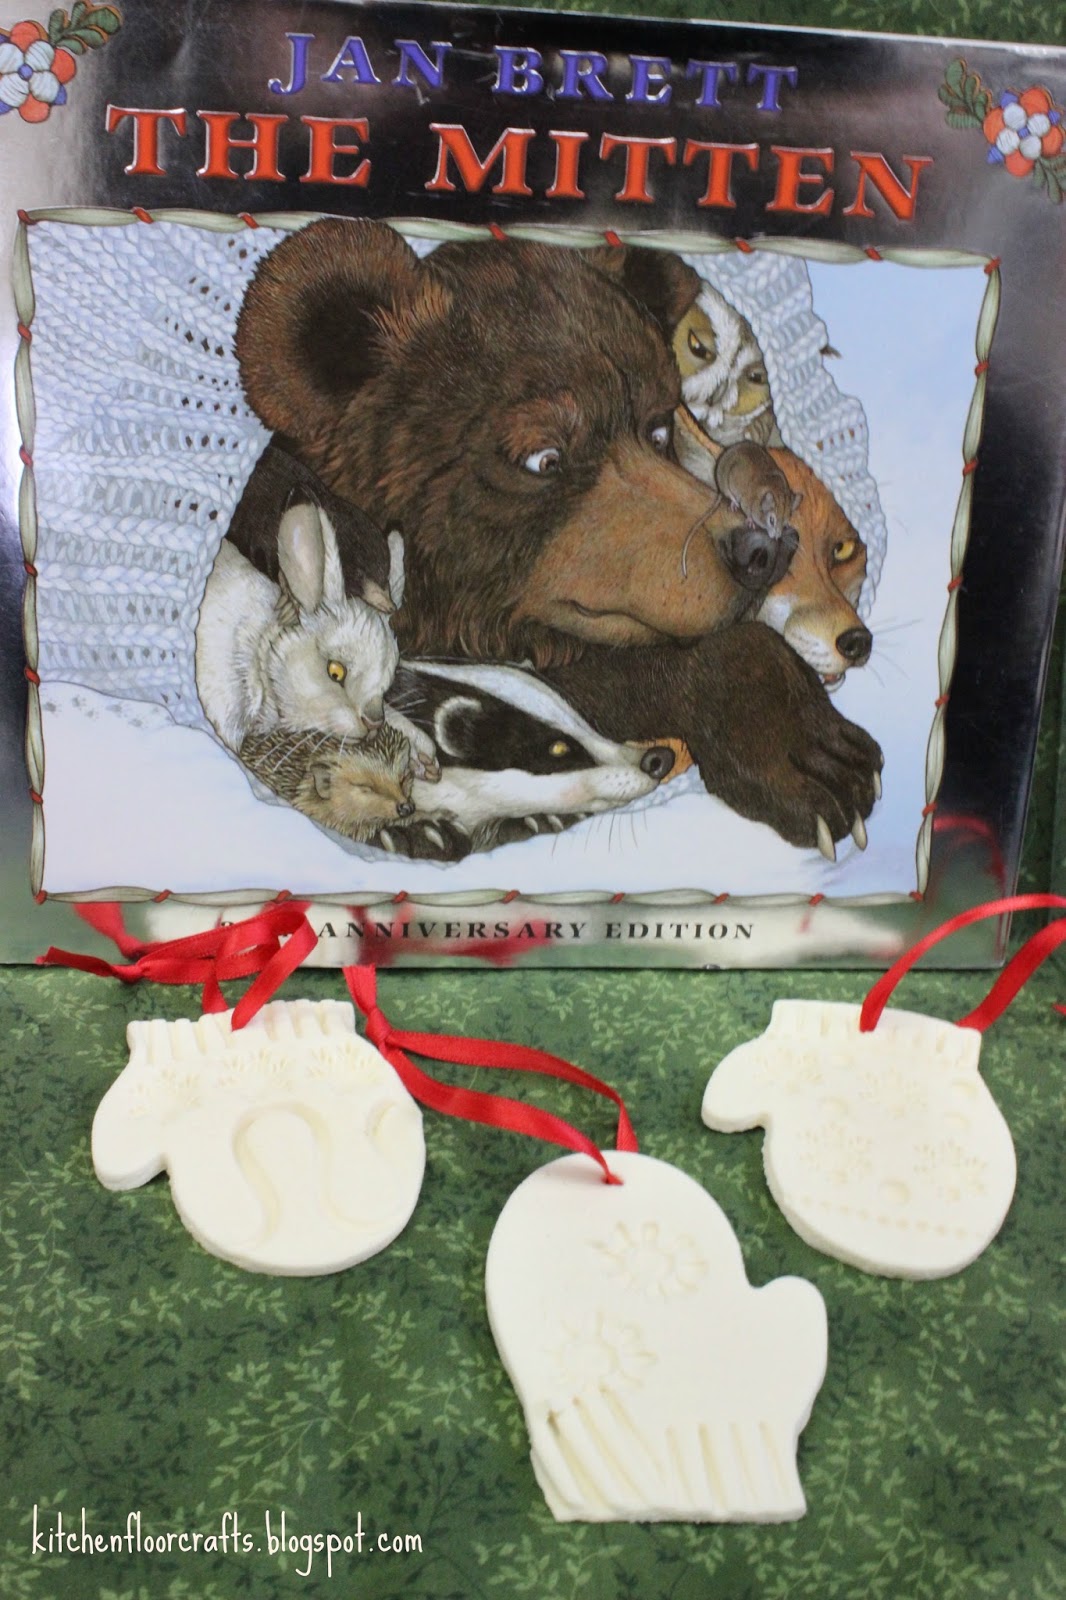
For our ornament project we decided to read Jan Brett's "The Mitten" and create our own snowy white mitten ornaments.
While not a holiday tale, "The Mitten" is definitely a favorite winter tale and great for getting us in the mood for winter. My boys always love the bear's giant sneeze at the end.
Although we're often a big fan of using salt dough for projects, last year we discovered white baking soda clay for homemade projects. The clay bakes whiter and smoother than salt dough, and looks especially beautiful for ornament projects. Both The Imagination Tree and Happy Hooligans shared posts which inspired us to try the clay last winter.

White Baking Soda Clay:
Dough Ingredients:
1 cup baking soda
1/2 cup cornstarch
3/4 cup water
To make the dough:
1. Mix the dry ingredients in a saucepan with a wire whisk. Add the water and stir with a wooden spoon a few times.
2. Cook over a low-medium heat, stirring continuously until the mixture begins to pull away from the sides of the pan. (It starts to look a lot like a sticky playdough.) When it begins to form a ball remove the dough from the pan and let cool for several minutes.
3. When cool enough to touch, knead the dough for a few minutes on a flat surface until it becomes smooth and flexible.
4. If you need to store it for a few minutes, wrap it in plastic as the outside of the clay may begin to dry a little.
 |
To Create the Mittens:
Materials:
Rolling Pin
Mitten cookie cutter
Small objects and stamps to make impressions in the dough
1. Roll the dough out to about 1/4 inch thick and cut with a mitten cookie cutter. We're loving this new Wilton one we got at JoAnn Fabrics. We found it worked best to roll the dough out on a silicone baking mat. Older kids could do the rolling themselves. (I found it easier with my younger guys to roll the dough myself and let them help cut out the mittens.)
2. Put the cut out mitten onto a plastic tray or place mat. Kiddos can now choose to decorate in anyway they want using a variety of tools.
3. Make a small hole at either the top or the bottom of the mitten for hanging it after it dries with a toothpick or nail.
4. Once done decorating the mittens bake the ornaments on a cookie tray in the oven at a very low temperature for several hours. (We baked ours at 175 degrees fahrenheit for 2 hours.)

This project worked for both the different age levels of the boys. Big Brother loved experimenting with the different techniques and created several different mittens. At first he put lots of detail onto one mitten, but then he started to think about spacing the designs out a little.

Little Brother loved just pressing lots of shapes into his mittens,
which gave them lots of character of course!

After the mittens dry we added red ribbon so they can hang off the tree.
Our mittens dried white as snow, just like Nicki's!

Enjoying this idea? Head over to Mama Miss to see the whole list of Kid-Made Ornament ideas.

Or, here's a quick look at the other posts from Day 3:
Cinnamon Ornaments from A Little Pinch of Perfect
Tomten Garland from What Do We Do All Day
Snowman Ornaments from Mama Smiles
Easy Fabric Ornaments from One Time Through
Button Stars from Buggy and Buddy
Christmas Stars from Montessori Nature
Washi Tape Canning Lid from Happy Brown House
Painted Wood Slice Ornaments by The Life of Jennifer Dawn
This post may also have been shared at some of these terrific link parties.
These look so effective. I hadn't realised they were so easy to make!
ReplyDeleteIt really is such a nice dough with a pretty finish. And we love just finding household items to make our impressions.
DeleteOne of our favorite books!! These are wonderful!
ReplyDeleteThanks! We had a lot of fun making an extension to a book we love too.
DeleteI love your idea of using everyday objects as "stamps" in the clay. What a neat idea to go along with this classic story! The ornaments look really nice too.
ReplyDeleteStamping Patterns into Soda Dough - I have just had one of those AH HA moments! What a clever - wonderful - idea!
ReplyDeleteThe Mitten is one of my favorite winter books. Love the idea of stamping the clay. Thanks for sharing at #made4kids!
ReplyDeleteHow many mitten ornaments does the above recipe make? Thanks!
ReplyDeleteHi Sarah, This may be a little late, but I would say it makes about 8 to 10 mittens with the size of the cutter I used.
Delete