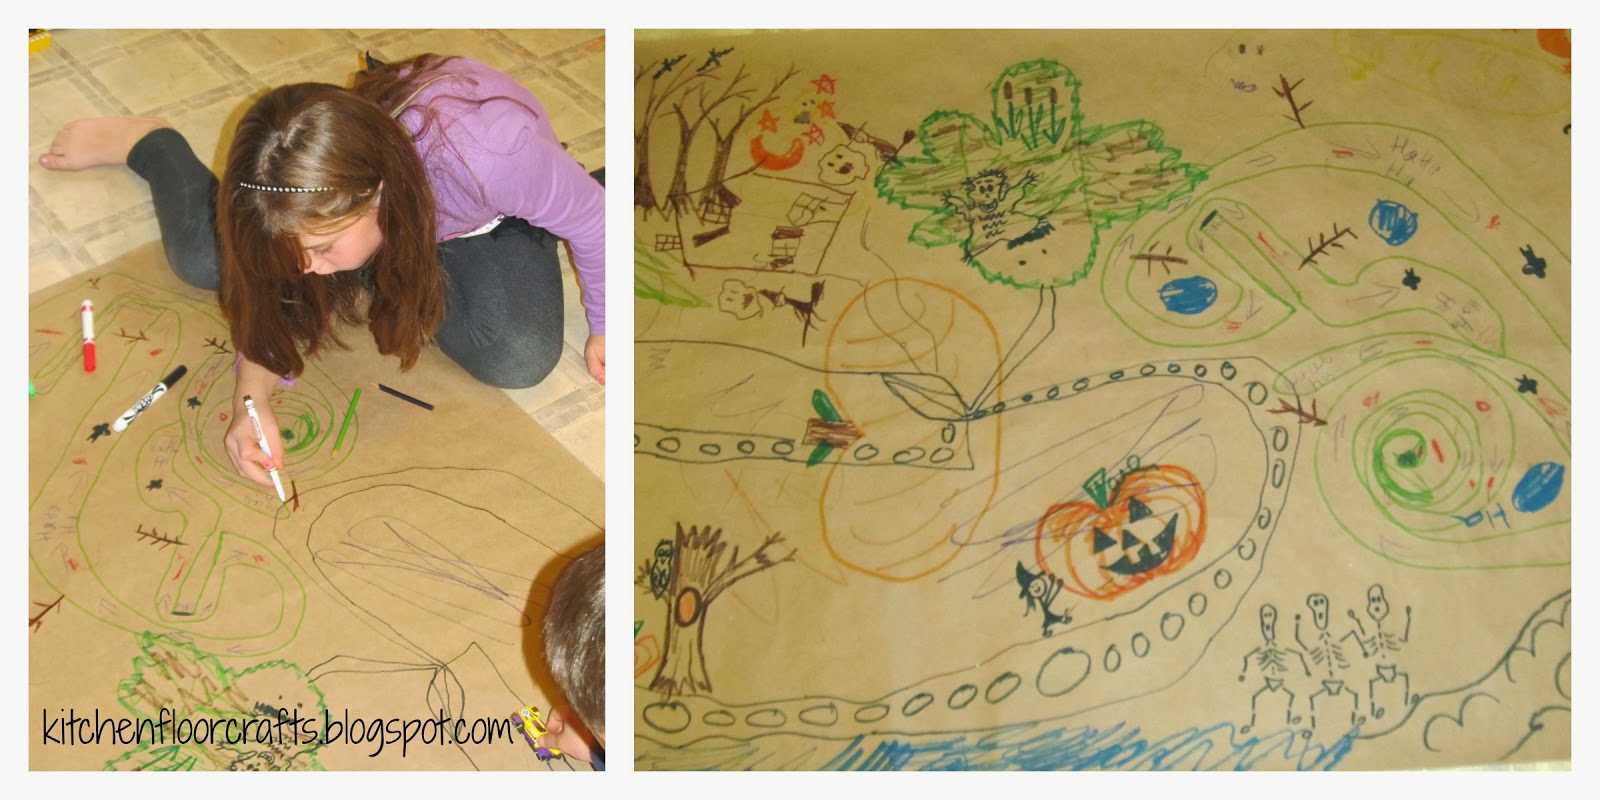
What makes this project great is the materials are simple and something we often have in the house. It can take as long or as little time as needed. Kiddos can take it in any direction they want on their own or get as much adult help as they need to create what they have in mind.
To begin with the needed materials include: large roll of brown craft/packing paper (we often get ours at the dollar store), markers or crayons, masking/painter's tape, and cars. A black permanent marker is optional, although it's nice to draw the main parts of the track with permanent marker.
We usually start with taping a large piece of the brown paper to the floor. I like using painters' tape best as it won't be quite as sticky on the floor, yet is still rugged enough to last through lots of playing on the mat.
Once the paper is taped down, our imagination can take us anywhere. Sometimes Big Brother draws on his own, other times he asks for me to draw and he adds to my drawings or colors them in.
Usually he asks me to draw the roadways at the least. When we most recently created our homemade race car coloring mat he had me draw different key buildings which he wanted included in his village.
Many different age levels can participate in the project. Little Brother loves to join in although he's definitely still in large scribbles mode. Older kiddos can get into the work by adding more details to the pictures. Big Cousin, aged 8, likes to do this project too when she comes over and often adds lots of small details.
We've experimented with different themes for our race car coloring mats, including our Letter Match Race Car Village. In the past we've also created a winter themed track, a Halloween town, a candy land, and more.
Our most recent race car coloring mat included a large, figure-eight roadway with lots of extra buildings and add-ons.
After creating the background, kiddos can add to it and then move on to playing on it. Often in our house there is a mix of coloring and playing followed by more coloring.
We usually leave our mat down for a few days, until it eventually starts to get ripped up at the edges. Another great plus to the project: if it's still in good shape we can save it, if not we can recycle it and look forward to creating it again next time.
Can you think of some ways you would add to this activity to capture your child's interest? I'd love to hear your ideas below.
This post may also have been shared at some of these terrific link parties.


No comments:
Post a Comment