UA-52744532-1

Friday, June 7, 2013

Bubble Wrap Prints

Big Brother continued to have spells of being pretty sick this week, so most of our time was not spent on projects. But one sunny morning we did take advantage of a moment he was feeling better in order to try out a new painting technique.

We've definitely loved exploring painting lately, and this new technique proved to yet again be a great combination of process and product. I'd heard of bubble wrap painting before but never tried it either by myself or with kids.

To create a printing mat I took a piece of bubble wrap, a piece of cardboard, and painter's tape. 

I cut a piece of bubble wrap to the size of the cardboard and taped it on to the cardboard at the edges with the painter's tape.

After the mat was prepped Big Brother and I set up our washable project paints. 

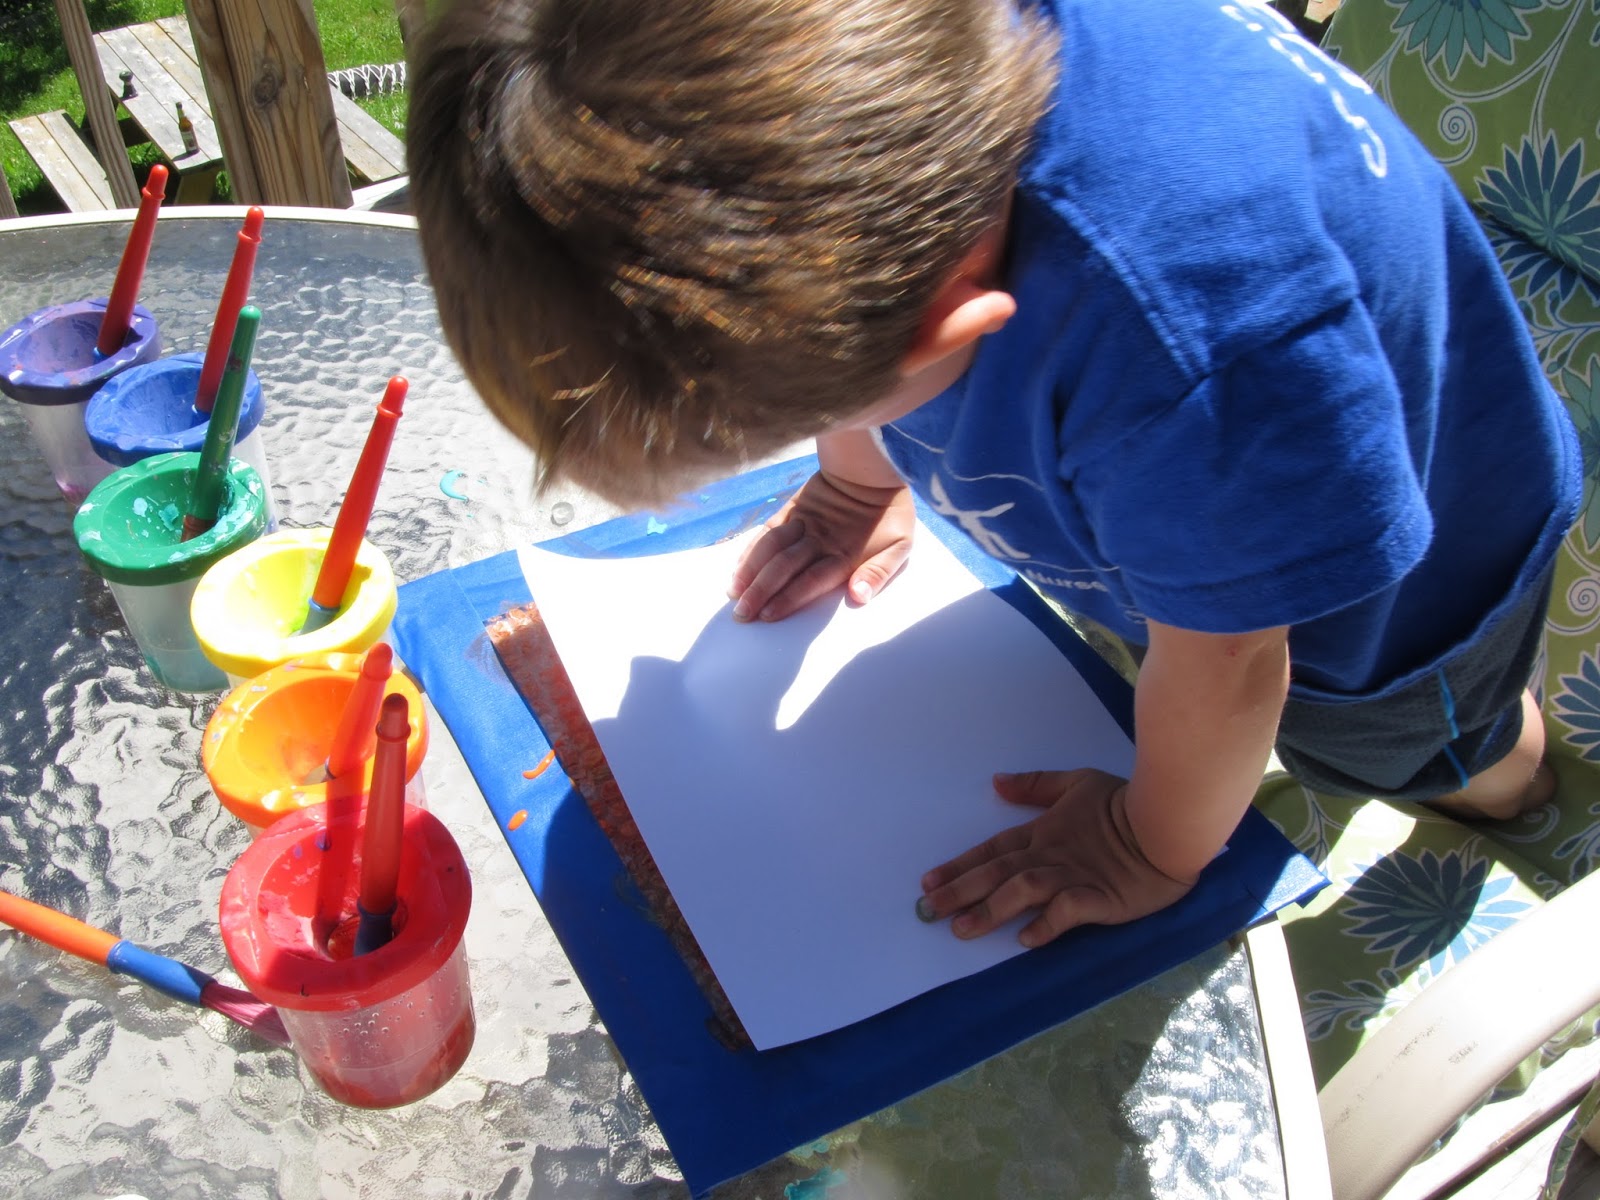
Big Brother began by painting the bubble wrap with the different colors. He mixed some of the colors as he painted. 

He tried to cover all the bubbles so the mat would be ready to be printed. 

We used white card stock again as we need to make some more thank you notes and it works best for the cards. Big Brother laid the paper down and pressed it onto the painted bubble wrap. 
When we pulled off the paper we were left with an interesting and colorful dot design. We were able to print a second piece of paper from the first round of painting. 

I was so drawn to the dots I had to try too and created a rainbow pattern. In the end I liked Big Brother's more random designs instead. 

In between prints we sprayed the mat with water and wiped it off with a paper towel. This way we didn't get just muddy, brown prints as the project continued. 

In the end we had quite an array of prints and we both had yet another new favorite way to paint.

Wednesday, June 5, 2013

Counting Carton

We've been a little mellow here this week as Big Brother has been under the weather. The week has consisted of watching some favorite Netflix shows, reading lots of picture books, doing puzzles, and playing with busy boxes and other quiet toys. Sometimes my biggest struggle when Big Brother is sick is keeping him mellow as he starts to feel better, he often wants to get up and run around before he's ready.

The other day I knew I would need something new, and calm, to keep him entertained. He's been really interested in counting and numbers lately so I decided to create a counting activity. I used an old egg carton, some small red stickers, card stock, and dried beans to create a "counting carton."

Monday, June 3, 2013

Peppermint Foot Soak

Over Memorial Day weekend two of my incredibly talented friends decided to utilize their fitness skills and run in a local marathon. One friend, after a long and dedicated training period, ran her first full marathon. She ran the course in under 5 hours! Another friend completed her fifth half-marathon, which means that she's run 65.5 miles in just marathon running! I'm incredibly impressed with both friends as I never see myself running more than my small, easy to prepare for, 5k runs.

In honor of their running, I wanted to create something they could pamper themselves with. I love the feel of peppermint lotion on tired feet and decided to experiment with a peppermint foot soak.


The Ingredients: 
8 cups epsom salts
1 and 1/2 cups baking soda
1/2 cup loose peppermint tea
8-10 drops of peppermint oil
(The peppermint oil and loose tea can be found at a local health food or bulk store.) 

For Gift Giving:
Glass containers
Ribbon
Labels (optional)


Directions:
1. Mix the epsom salts, baking soda, and loose peppermint tea into a large bowl. Stir with a wooden spoon.


2. Add in 8 to 10 drops of peppermint oil. (Please note, this is peppermint oil not peppermint extract.) The oil is strong so add the drops slowly until it reaches a scent level you're comfortable with. I used a small dropper we had on hand as my oil did not come with a dropper. Stir with a wooden spoon. If clumps form mush with the spoon or your hands.

3. If you're giving the soak as a gift it's nice to package it into glass containers for easy storage. It also looks pretty. I found these containers at a local hardware store. Mason jars would also work nicely. I had enough to fill the three containers, another glass container, and saved some in a ziplock bag to try on my own feet. 

4. I used our word processing program to create a cute gift label. I made this one fit a running theme. But this soak could work for a variety of people, so the label could reflect the group. For those of you still looking for an end of year teacher gift this would also be much appreciated, teachers spend a lot of time on their feet. If you're looking for clip art, there are lots of options on the internet. I always add "free" to my image search as then I find royalty free pieces. I printed these labels onto white card stock.

5. Hole punch the label and use ribbon to tie the card onto the container. A beautiful (and easy) gift for some tired feet!

Thursday, May 30, 2013

Virtual Book Club: "Swimmy" Sponge Painting

A few months ago I discovered the Virtual Book Club for Kids on facebook and pinterest. We used some of the ideas I saw for celebrating Dr. Seuss' birthday and creating activities to do with David Shannon books. This month's author was Leo Lionni.


For our first Leo Lionni book we decided to read Swimmy. Swimmy tells the tale of a little black fish who finds the courage to explore his world. He then uses his bravery and clever thinking to encourage a school of fish to work together so they too can explore the ocean. Big Brother was really interested in the creatures Swimmy meets along his journey but he wasn't sure what they all were. We did a quick search on YouTube to look for videos of the creatures. We loved seeing some of the amazing underwater videos of jellyfish, tuna fish, eels, schools of fish, and lobsters.

In this book Leo Lionni used several different materials to paint and print the illustrations. For our project we sponge painted ocean scenes. Before the project I cut several sponges into different shapes. Some shapes were recognizable, for example the fish shape, but others were generic like the half circle and rectangle.
Material notes: For the sponge painting we needed lots of flat surfaces or trays for the paint.  We used the lids of strawberry containers. We also kept a bowl of water for rinsing the sponges in between colors. 

Monday, May 27, 2013

Salamanders!

One great thing about rainy days is that it brings out the salamanders. As we had a lot of rainy days last week it proved a perfect time to go on a salamander search in the woods. I've loved searching for salamanders since I was a kid; my brother and I used to go together, combing our driveway after storms. And even now, whenever I run after a rainy spell I always stop along my way to move these little, orange creatures off of the road. But what was really special last week is we could do our search as a whole family.

First we read one of my favorite books for connecting kids to nature, called The Salamander Room by Anne Mazer.

Friday, May 24, 2013

Rocky Road Brownies

I discovered an amazing new brownie recipe today. So good, I made them twice. Yes, twice. In one day.

I wanted to give a thank you gift to a friend who loves brownies. And although I've developed a pretty good brownie recipe over the years I wanted to make something special. I was thinking about creating something like a "s'mores brownie" to go along with this coming weekend's theme of kicking off summer when I stumbled across this recipe for Rocky Road Brownies. A few tweaks, some time in the oven, and these brownies looked and smelled amazing. So amazing, that after they'd been delivered I knew I had to make a batch for us to try as well. Hence, two batches in one day. Our batch didn't let us down; this chocolate, gooey, nutty treat is perfect for a rainy day (or really any day.)

I didn't really plan to post the recipe today, so please excuse the lack of "how to" pictures.


Rocky Road Brownies

Ingredients:

1 stick of unsalted butter (plus a little extra for buttering the pan)
1 bag (12 oz.) of semisweet chocolate chips ( I used Ghirardelli chips)
2 large eggs
1/2 tsp salt
1/2 cup granulated sugar
1/2 cup packed light-brown sugar
1 tsp vanilla
3/4 cup flour
1 cup mini-marshmallows
3/4 cup chopped walnuts


Directions:

1. Preheat the oven to 350 degrees. Butter an 8 x 8 pan and then line with parchment paper, leaving an overhang on the sides. Butter the paper as well. 
2. In a microwave safe bowl melt the stick of unsalted butter and 1 cup of the semisweet chips. (It's easy to burn the chocolate so I recommend melting the butter and chocolate in small increments and then stirring. I melted for 45 seconds, stirred, and then for another 45 seconds.) 
3. After the chocolate is melted add in the eggs and salt, stir until combined. 
4. Stir in the sugars and vanilla. 
5. Add the flour and stir until just combined. Pour into the prepared pan. 
6. Bake on the middle rack for 30 minutes. 
7. Remove the brownies from the oven and immediately sprinkle the remaining chocolate chips onto the top of the brownies. Sprinkle the chopped walnuts and marshmallows on top of the chocolate chips. 
8. Put the brownies back in the oven and bake for another 5 to 7 minutes until the marshmallows begin to toast. 
9. Cool in the pan on a wire rack for at least 10 minutes. Carefully use the extra parchment paper to lift the brownies out of the pan and onto the wire rack. Continue to let the brownies cool until the topping seems to hold together when gently touched with a finger. (Probably about another half hour at least.)
10. Cut the brownies up and enjoy!